
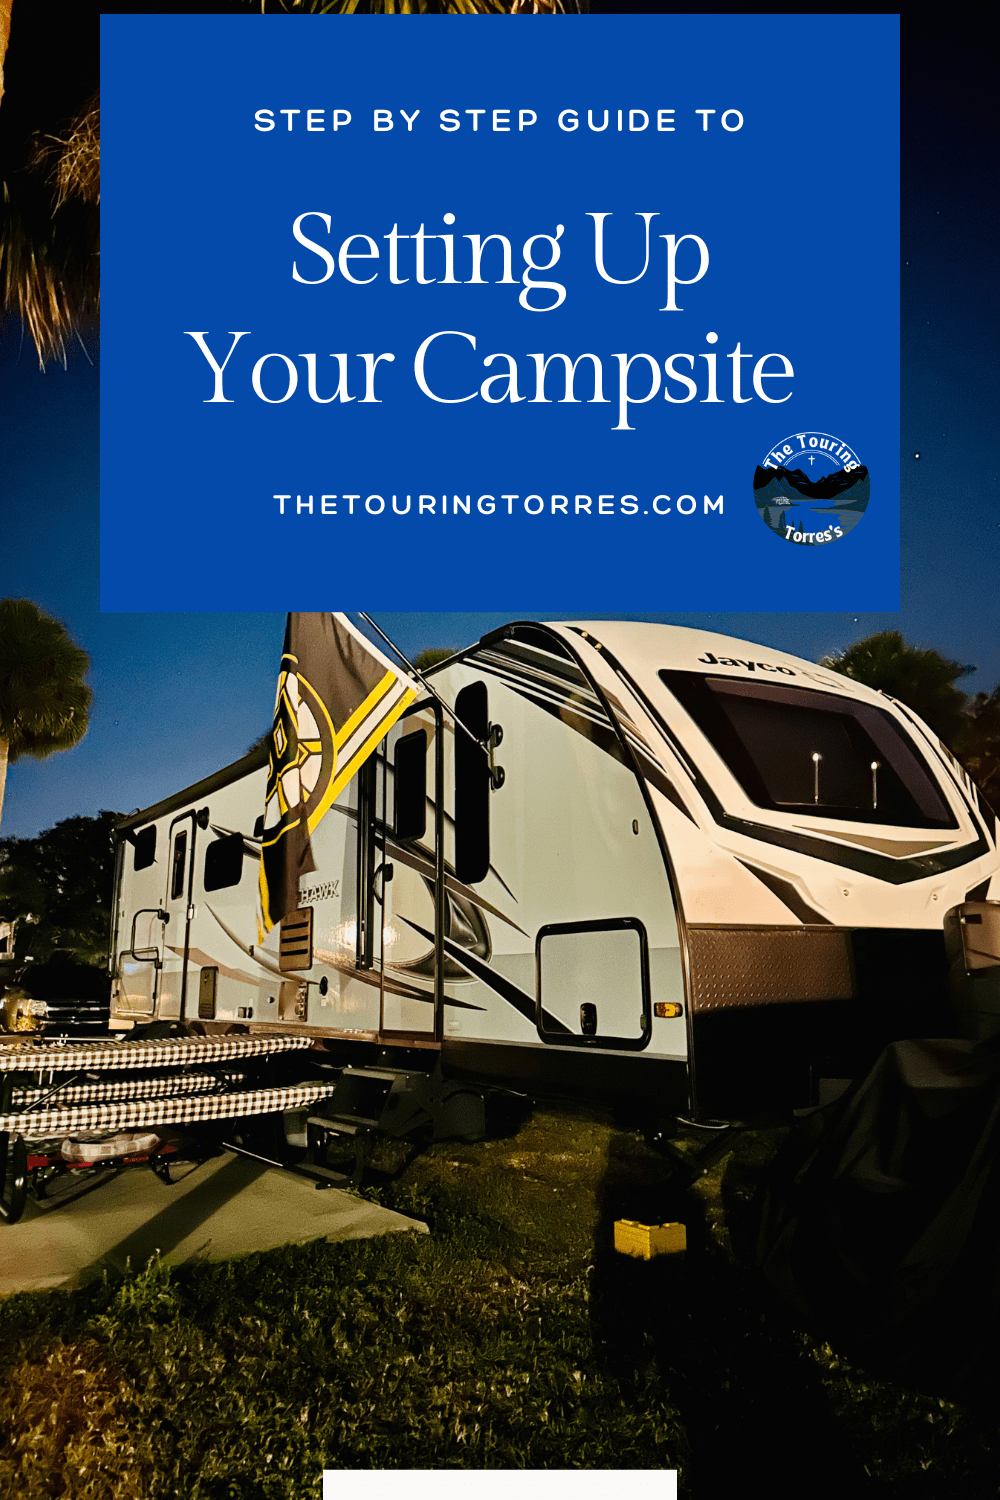
The time has finally come. You’ve got your RV packed up and ready to go on its first adventure. All your essential items are packed, but now you need to know how to use everything. Below is a step by step guide for setting up your RV for a relaxing getaway. From the moment you pull into the campground to sitting down when it’s all done, I’ve got you covered.
1. Inspect your site
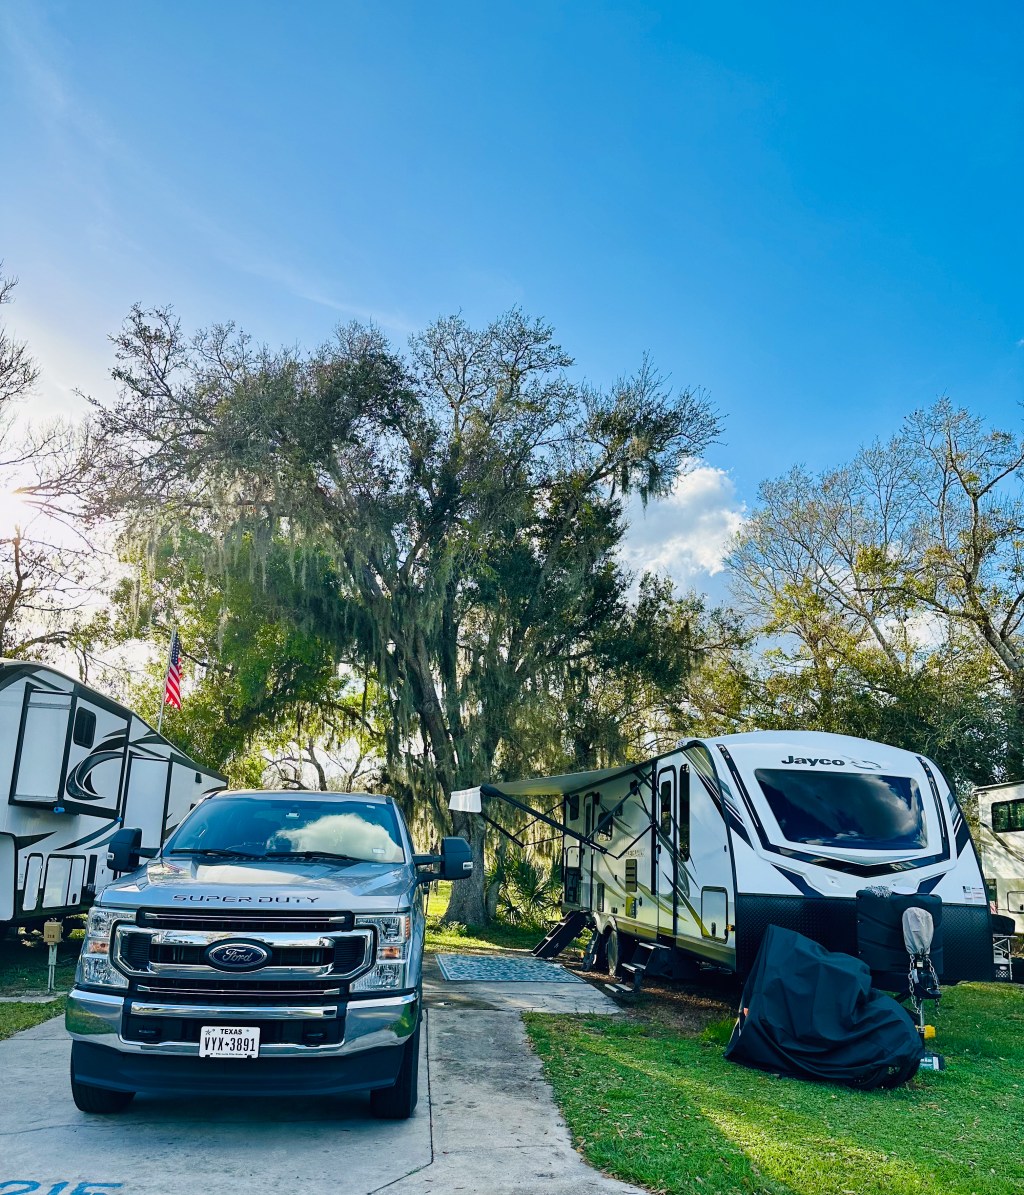
Pull over on the same side as your site but stop just before it. Get out and look at your site. If it’s a dirt site in a wooded area, look for the most level spot. Look up and check for low hanging branches. If it’s a gravel site or concrete/asphalt, look down and check for things like nails, screws, etc. While you’re there, bring you surge protector with you. Check the power pedestal to make sure it’s working properly. This is also a good time to check the water.
With your spotter, if you have one, decide where you’re going to position your rig. Look for obstructions of your slides. Most common obstructions are the power pedestal, water pedestal, and trees. Check the camp side as well to make sure your awnings and your stairs can open. Once you’ve decided, the spotter can remain in the site and the driver can get ready to back in or pull through.
2. Back in or pull through
Depending on your site, you’re either going to be backing into your spot or pulling through. Pull through’s are obviously the easier of the two, but I’d suggest using a spotter for both. Have a form of communication with your spotter. We use our cell phones most of the time but when service is poor, we have walkie talkies as backups. Keep in mind, cell phones sometimes have delays. The spotter should guide you to where you planned in step one keeping in mind slides, awnings, and stairs.
3. Check for level (side to side)
If you have auto level on your rig, you can move on to the next step and know that I envy you a bit.
Take out your bubble level or turn on Levelmate Pro to find out. If you’re using a bubble level, I find the best place to do it, if the level is long enough, is on the A frame of the trailer if you’re in a travel trailer. If not, place it on the floor of the rig or on the countertop. I would err on the side of caution using the back bumper. I’ve noticed a few warped back bumpers in my time researching RV’s. You want to get your level right, so you don’t damage your slides or your appliances.
Let’s say the rig is off level and is higher on the driver side. Take out your levelers (either blocks, Anderson’s, or wood) and place them under the passenger side tires. If you were higher on the passenger side, you’ll place the levelers on the driver’s side. Check for level again and adjust as needed. Once leveled, chock your wheels.
4. Unhitch and level front to back
Now that you’ve unhitched from the tow vehicle (unless you’re in a motorhome) you can level from front to back. Those with auto level, you’ve unhitched before operating your auto level so you can move on as well. For the rest of us, you’ll do the same as step 3 but instead of checking for side-to-side level you’ll check for front to back level. You’ll use your tongue jack in the front to make your adjustments. I use the countertop or floor to put the bubble level for this step, well before Levelmate Pro.
5. Stabilize
All rigs come with some sort of stabilizers. Fifth wheels and motorhomes are similar and if you have auto level, it’s the same “landing gear” so you are most likely good to go already. Travel trailers without auto level, you’ll likely have either scissor jacks on all four corners or electric legs that come down to contact the ground. Before you put those jacks down, put something under them so that they don’t go directly on the dirt or gravel. This will help make sure they don’t sink into the ground as you walk around inside. If you’re on a concrete slab, it’s still a good idea. I’ve seen asphalt melt on hot days and then cool around the feet of the stabilizers, not good. Snap pads are a good, easy to use product for this. If you have the yellow leveling blocks, use those. Also, the less your jacks have to extend, the less vibration you’ll feel when walking inside. The wider the stance of the jacks the better. If you’re using x-chocks, you’ll want to install those after your stabilizer jacks are extended.
6. Extend slide outs
Now that your level and stabilized, you can extend your slide outs. Each slide out system is different so refer to your owner’s manual for the proper procedures for your specific slide system and rig.
7. Adjust stairs (if needed)
Our RV came with the solid step stairs by Lippert. These stairs contact the ground and the feet have to be adjusted depending on the terrain. I wait until now to adjust them so that I don’t bend them when leveling or even stabilizing. You definitely want to be level before adjusting your stairs.
8. Hook up power
Hopefully you’ve already checked to make sure the power pedestal is working properly. If not, make sure you check before plugging in your RV. If all is good, turn off the breaker at the pedestal, plug in the surge protector, then the RV cord into the surge protector, then connect the power cord to the RV. Once everything is connected, turn on the breaker and go inside to check that you have power. I use my microwave to check since that doesn’t work unless we’re on shore power.
9. Connect Water
In step one I suggested checking the water. I do that, one, to make sure it’s working and two, just to flush it out. I’ve noticed rusty water, bugs, dirt, etc. in the connections, so I let it run for 15-30 seconds before connecting my hose to it.
Some choose to put the water filter right at the water supply so that the hose stays filtered. It makes total sense to do this, but I don’t do it that way. The reason is, I’ve been to many sites where the water connection is so low to the ground that I can’t fit the filter underneath. Instead, I connect the filter at the very end, right before it goes into the RV. Either way, the water entering the RV is filtered. Once your hose is connected, run the water inside to get all the air out of your pipes. If you have a hot water tank, run the hot water until it comes out consistently and then turn your heater on if you’re planning to take showers that night. Don’t forget your water pressure regulator. I connect mine right at the pedestal so that the water going through the hose is regulated properly and since those are usually smaller, they fit.
10. Connect Sewer Hose.
This step is optional here. For example, I know that we can get through at least one night of full showers, (not turning water off between soaping up and rinsing) without filling up our gray tank. I also know that we can get through 4 plus days without filling our black tank. So, connecting the sewer the first night isn’t completely necessary. However, I usually do it because I’m already there setting up the power and water. The sewer connection is typically located in the same area. However, if we arrived late and I want to start cooking dinner, the sewer can wait until the following day. Remember, you want to use the holding tanks. You don’t want to leave your valves open when connected to the sewer. This is especially true for the black tank. You want the wastewater to build in there and let the treatment you’ve used do its job. Water is a black tanks best friend when it comes time to emptying it. The gray water isn’t as important, but I use the gray to wash out the hose after emptying the black. I also don’t want the smells of the sewer leeching into the camper either, so I keep all my valves closed until it’s time to empty the tanks.
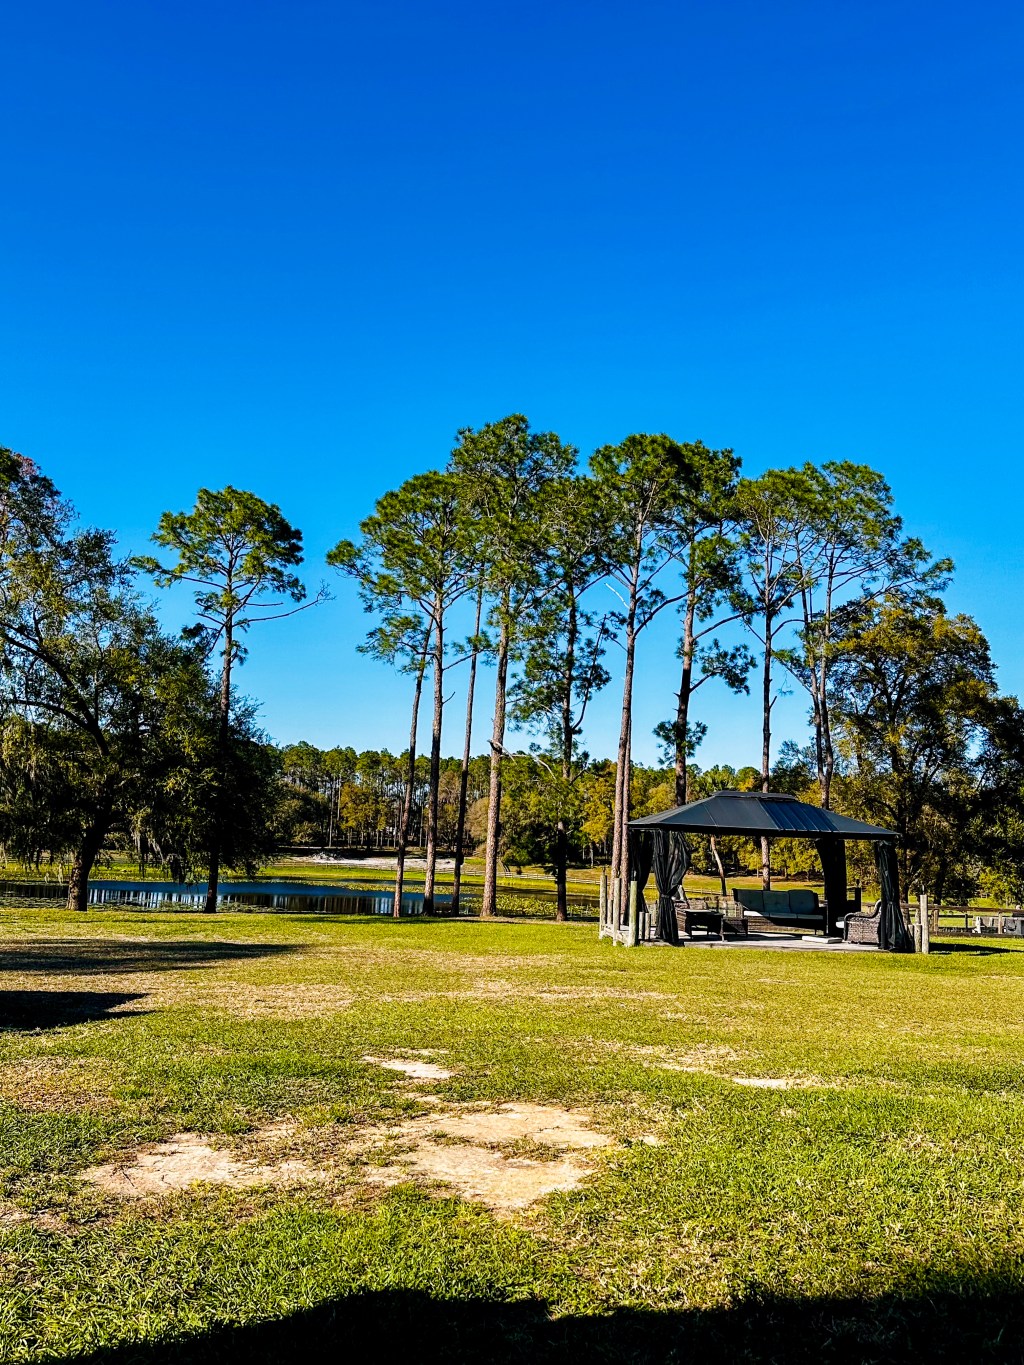
11. Setup your campsite
Now it’s time to make the site your own. Typically, I start with setting up my outdoor kitchen space. I prefer to grill outside as much as I can and after a travel day, I’m usually quite hungry. I then move onto laying out the outdoor rug, moving the picnic table to a place we want it, covering the picnic table with a tablecloth and bench covers, and setting up our chairs. My son has probably already taken out his outside toys or his bike but if not, I do that as well.
12. Relax
That’s it. If you’re like me, you’ll get the grill or griddle fired up to start cooking. Or if you prefer, you can sit back and relax. You’re all set up and ready to enjoy your downtime.
I hope you enjoyed this and found it helpful. Please feel free to drop a comment below.
Safe travels and God bless!

Leave a comment